


> This is the full, technical walkthrough of how we (RepaintPro) turn tired aluminium windows and doors into a factory-style finish. It’s deliberately detailed so you can see why proper prep and process matter—and why DIY usually struggles to achieve durable results.
Note: We use single-pack systems on residential work. 2-pack primers and 2-pack polyurethane are reserved for commercial/industrial projects only.
—
Contents
1. Assess the frames
2. Site protection & access
3. De-silicone, degrease & clean
4. Mechanical sanding (“keying”)
5. Precision masking (incl. colonial bars)
6. Priming (residential vs commercial)
7. Topcoating (film builds, passes, sheens)
8. Environmental conditions (Gold Coast)
9. Doors, screens & moving parts
10. Tape removal technique (razor-edge lines)
11. Quality checks (DFT, adhesion, defects)
12. Troubleshooting (fish-eyes, sags, dry spray)
13. Body corporate & compliance notes
14. Maintenance after cure
15. Quick checklists (printables)
—
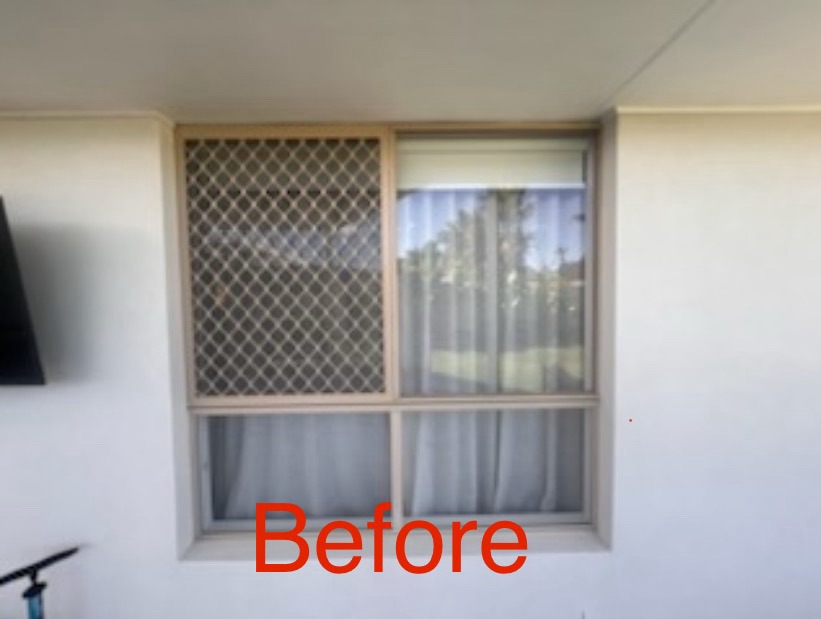
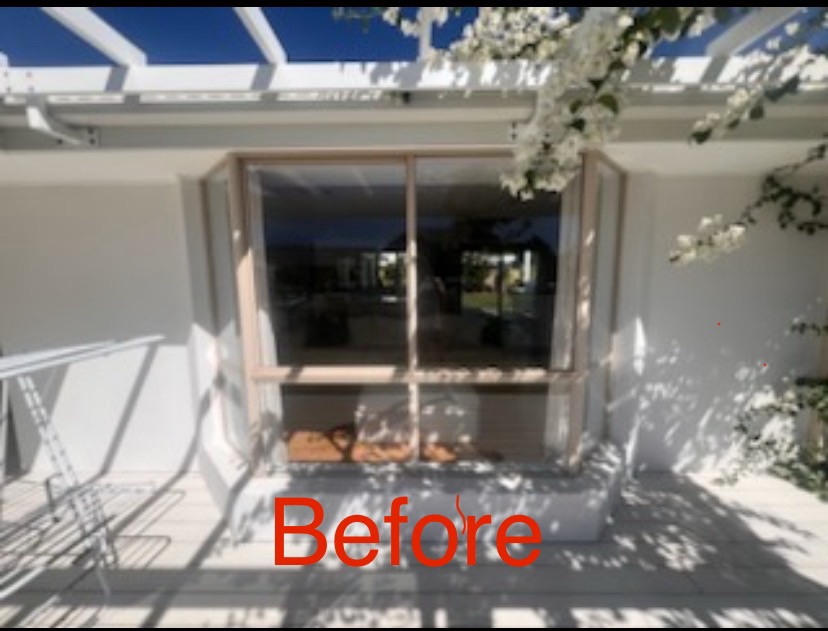
1) Assess the Frames (5–10 minutes per opening)
What you’re looking for
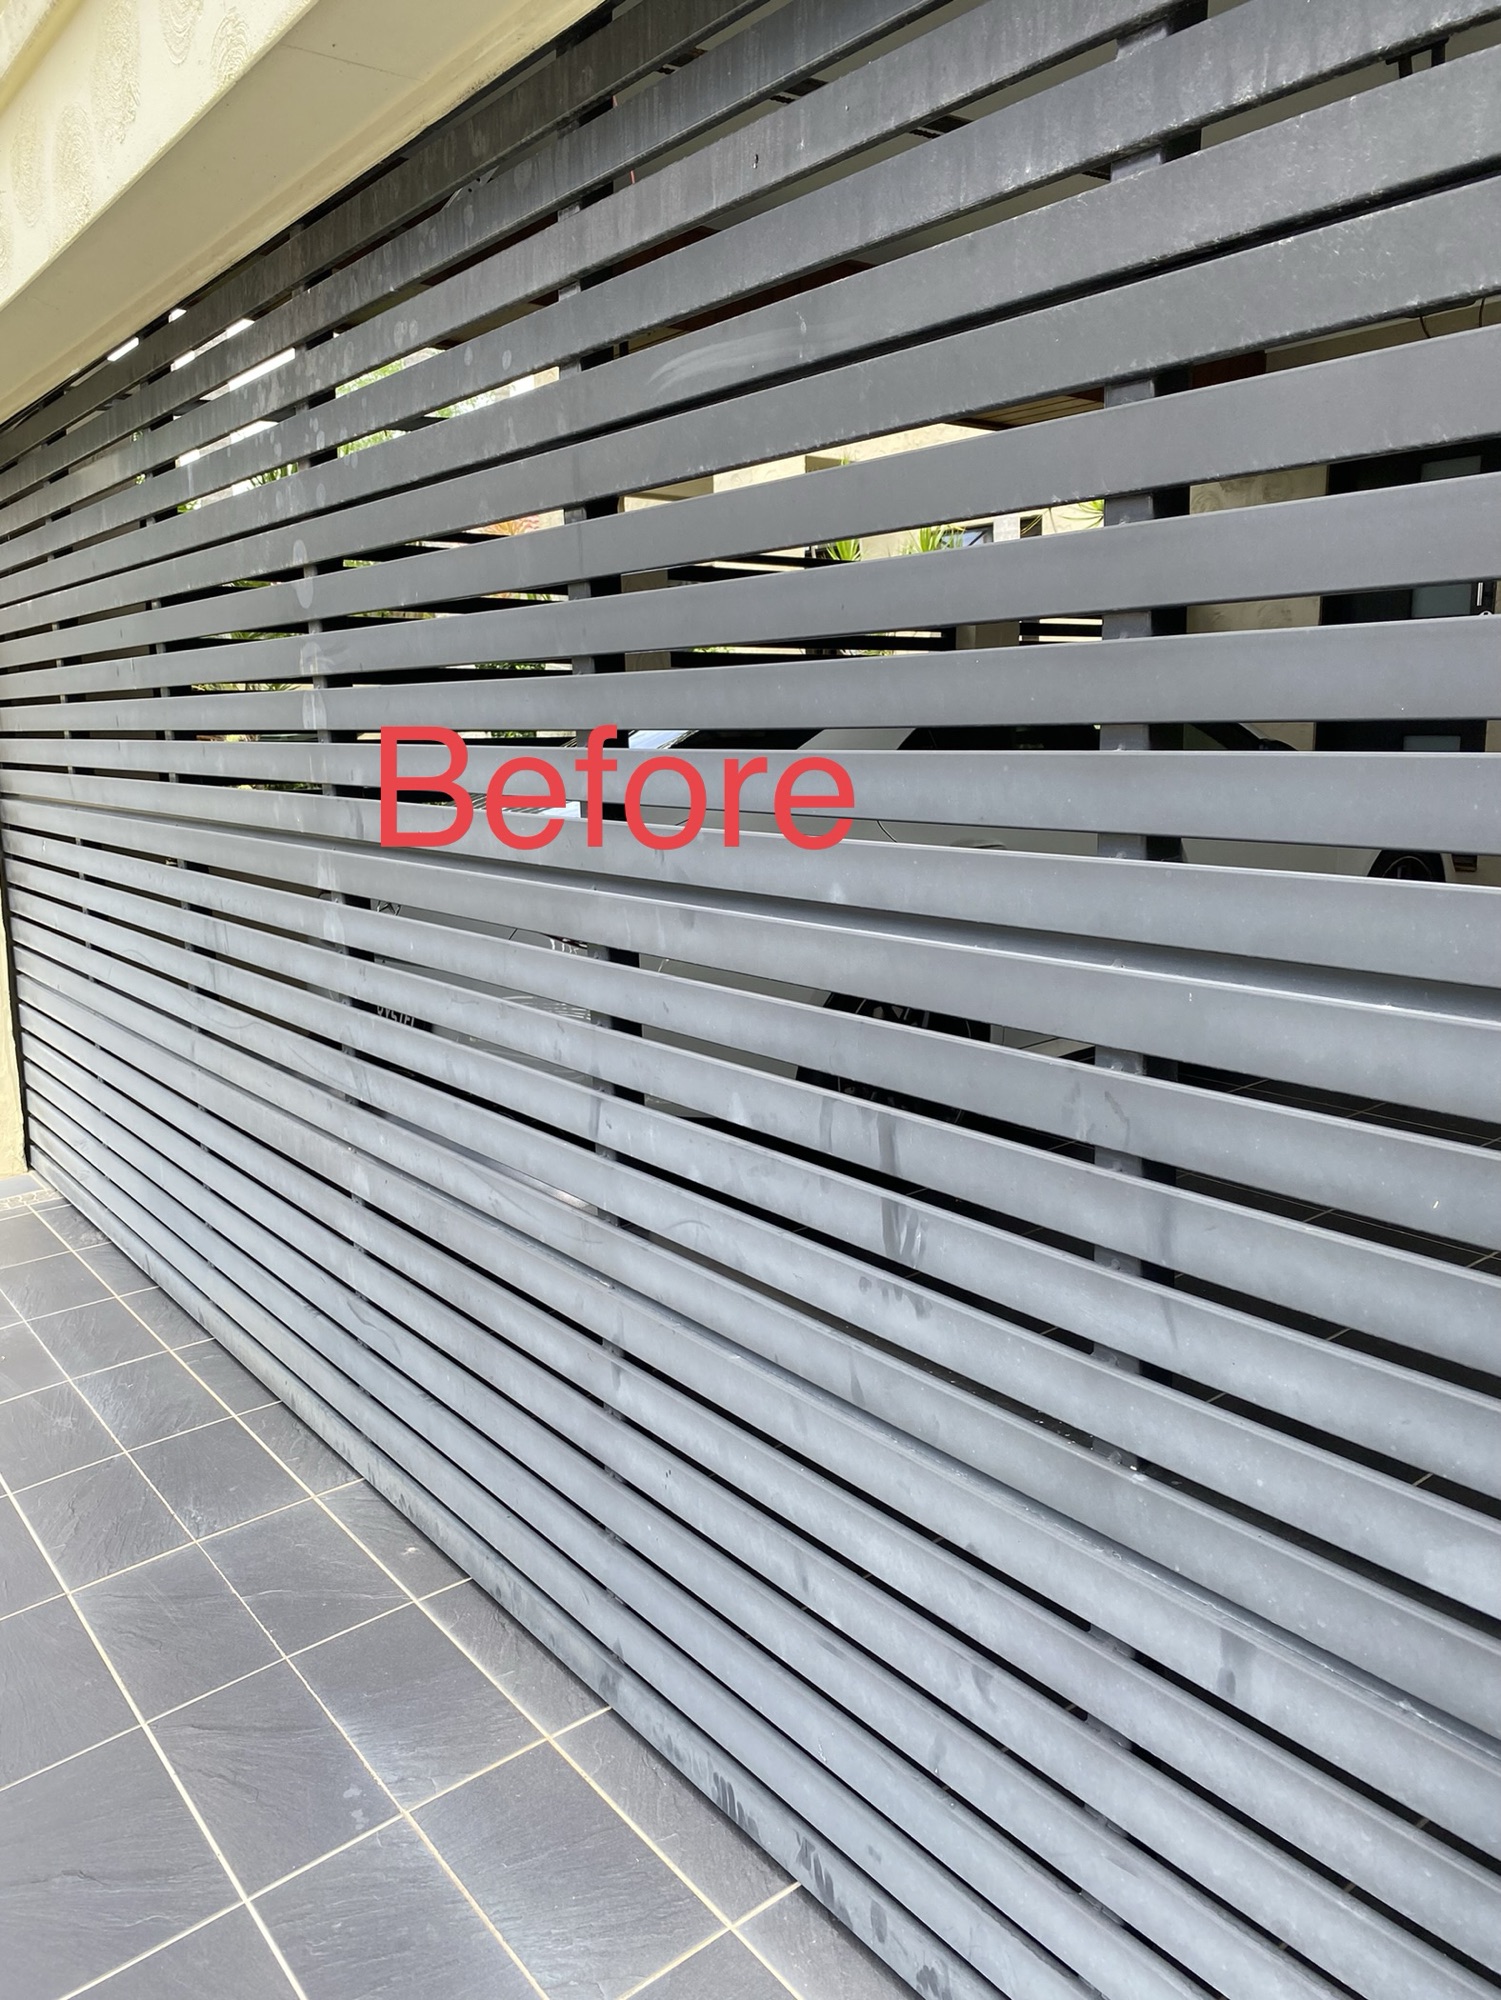
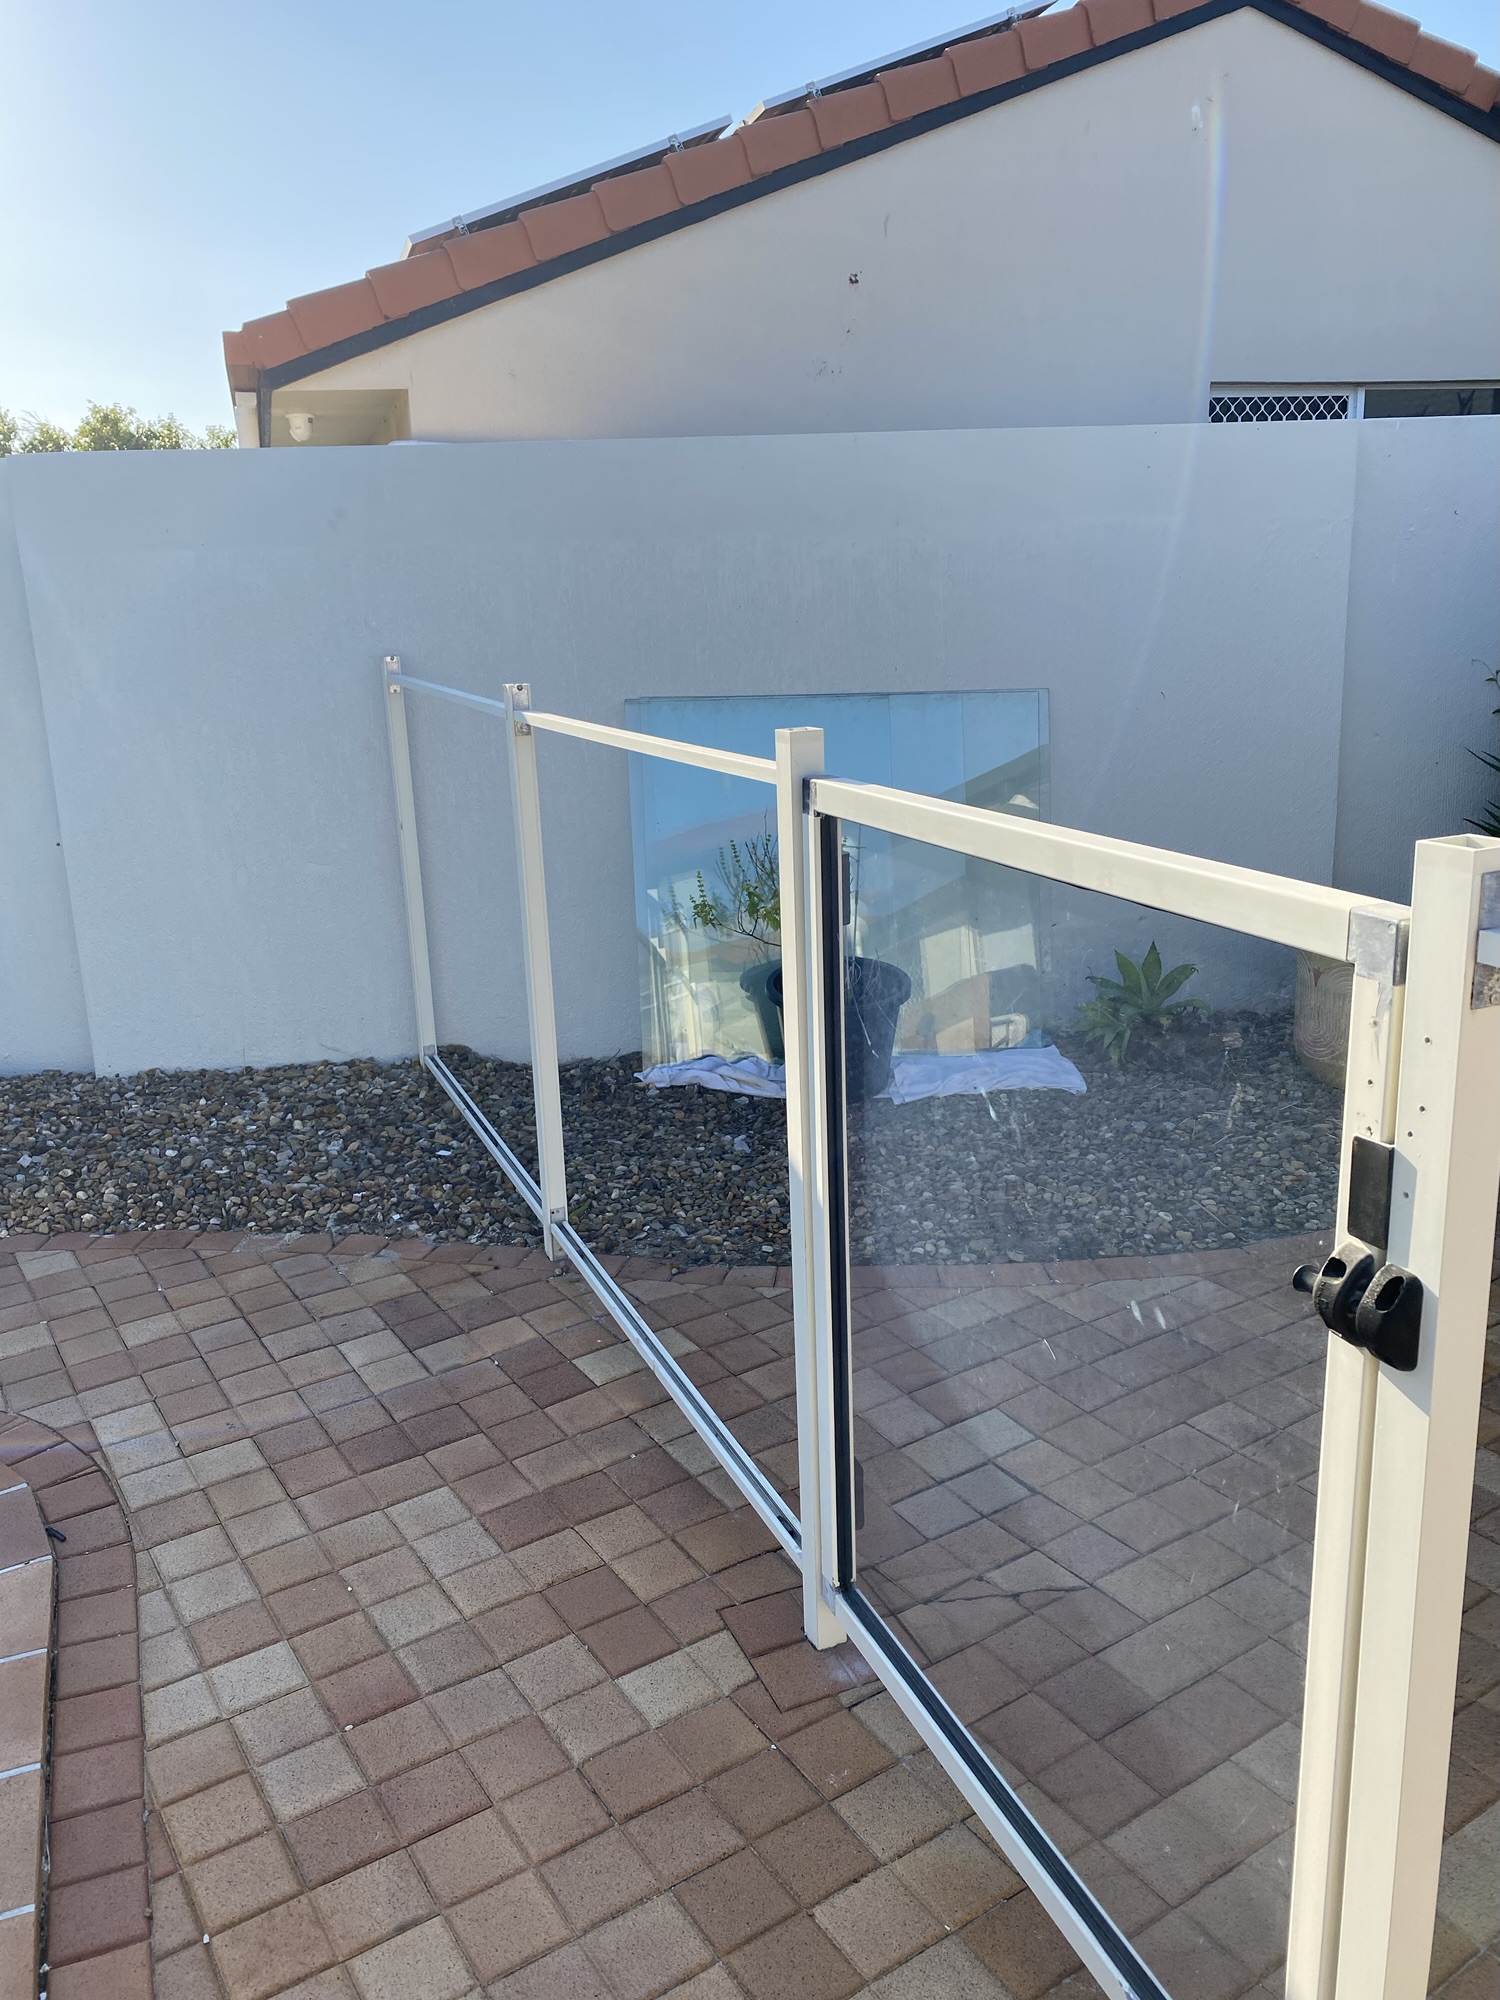
Substrate type: Powder-coated aluminium, anodised aluminium, or previously painted aluminium.
Condition: Chalking/oxidation, silicone contamination, corrosion at mitres, scratches/dents.
Movement: Are sliding panels rough, rollers flat, tracks dirty or gouged?
Joinery details: Colonial/French bars, louvres, fixed lights, stacker doors, corner joins.
Adjacent materials: Render/brick/timber decks/tiles that need protection.
When to replace (rare)
Severe frame distortion, failed structural joints, shattered/compromised glazing, or body-corp restrictions that forbid recolouring. Otherwise: repaint wins.
—
2) Site Protection & Access
Work area zoning: Cones/signage if public-facing.
Drop protection: Heavy drop sheets to floors/decks; plastic to furnishings.
Access: Ladders/trestles for single-storey; scaffold/boom for higher.
Ventilation: Cross-flow where possible; never spray in confined, unventilated spaces.
Weather plan: See section 8—don’t chase gloss in direct sun.
—
3) De-Silicone, Degrease & Clean
Silicone residue and hand oils are the #1 cause of fish-eyes and craters.
Silicone audit: Around glazing beads, mitres, previous sealant repairs.
Removal: Mechanically scrape excess; use dedicated wax & grease remover (prepsol-type). Wipe on, wipe off with clean cloths (two-cloth method).
General clean: Mild detergent & water; rinse; dry.
Final wipe: Lint-free cloth with solvent cleaner; allow full flash-off.
Tip: Fresh cloth faces often—dirty rags just re-deposit contaminants.
—
4) Mechanical Sanding (“Keying” the Aluminium)
Goal: break the glaze of powder coat/anodising to create microscopic tooth.
Abrasives:
Flats: P320–P400 paper (orbital) or maroon Scotch-Brite for profiles.
Edges/mouldings: hand scuff pads to avoid cut-throughs.
Technique: Even pressure; no shiny spots left; feather out chips/scratches.
Dust removal: Vacuum + clean, dry compressed air + tack cloth.
Avoid: Coarse grits that gouge (P180 or lower). You’ll telegraph scratches through the finish.
—
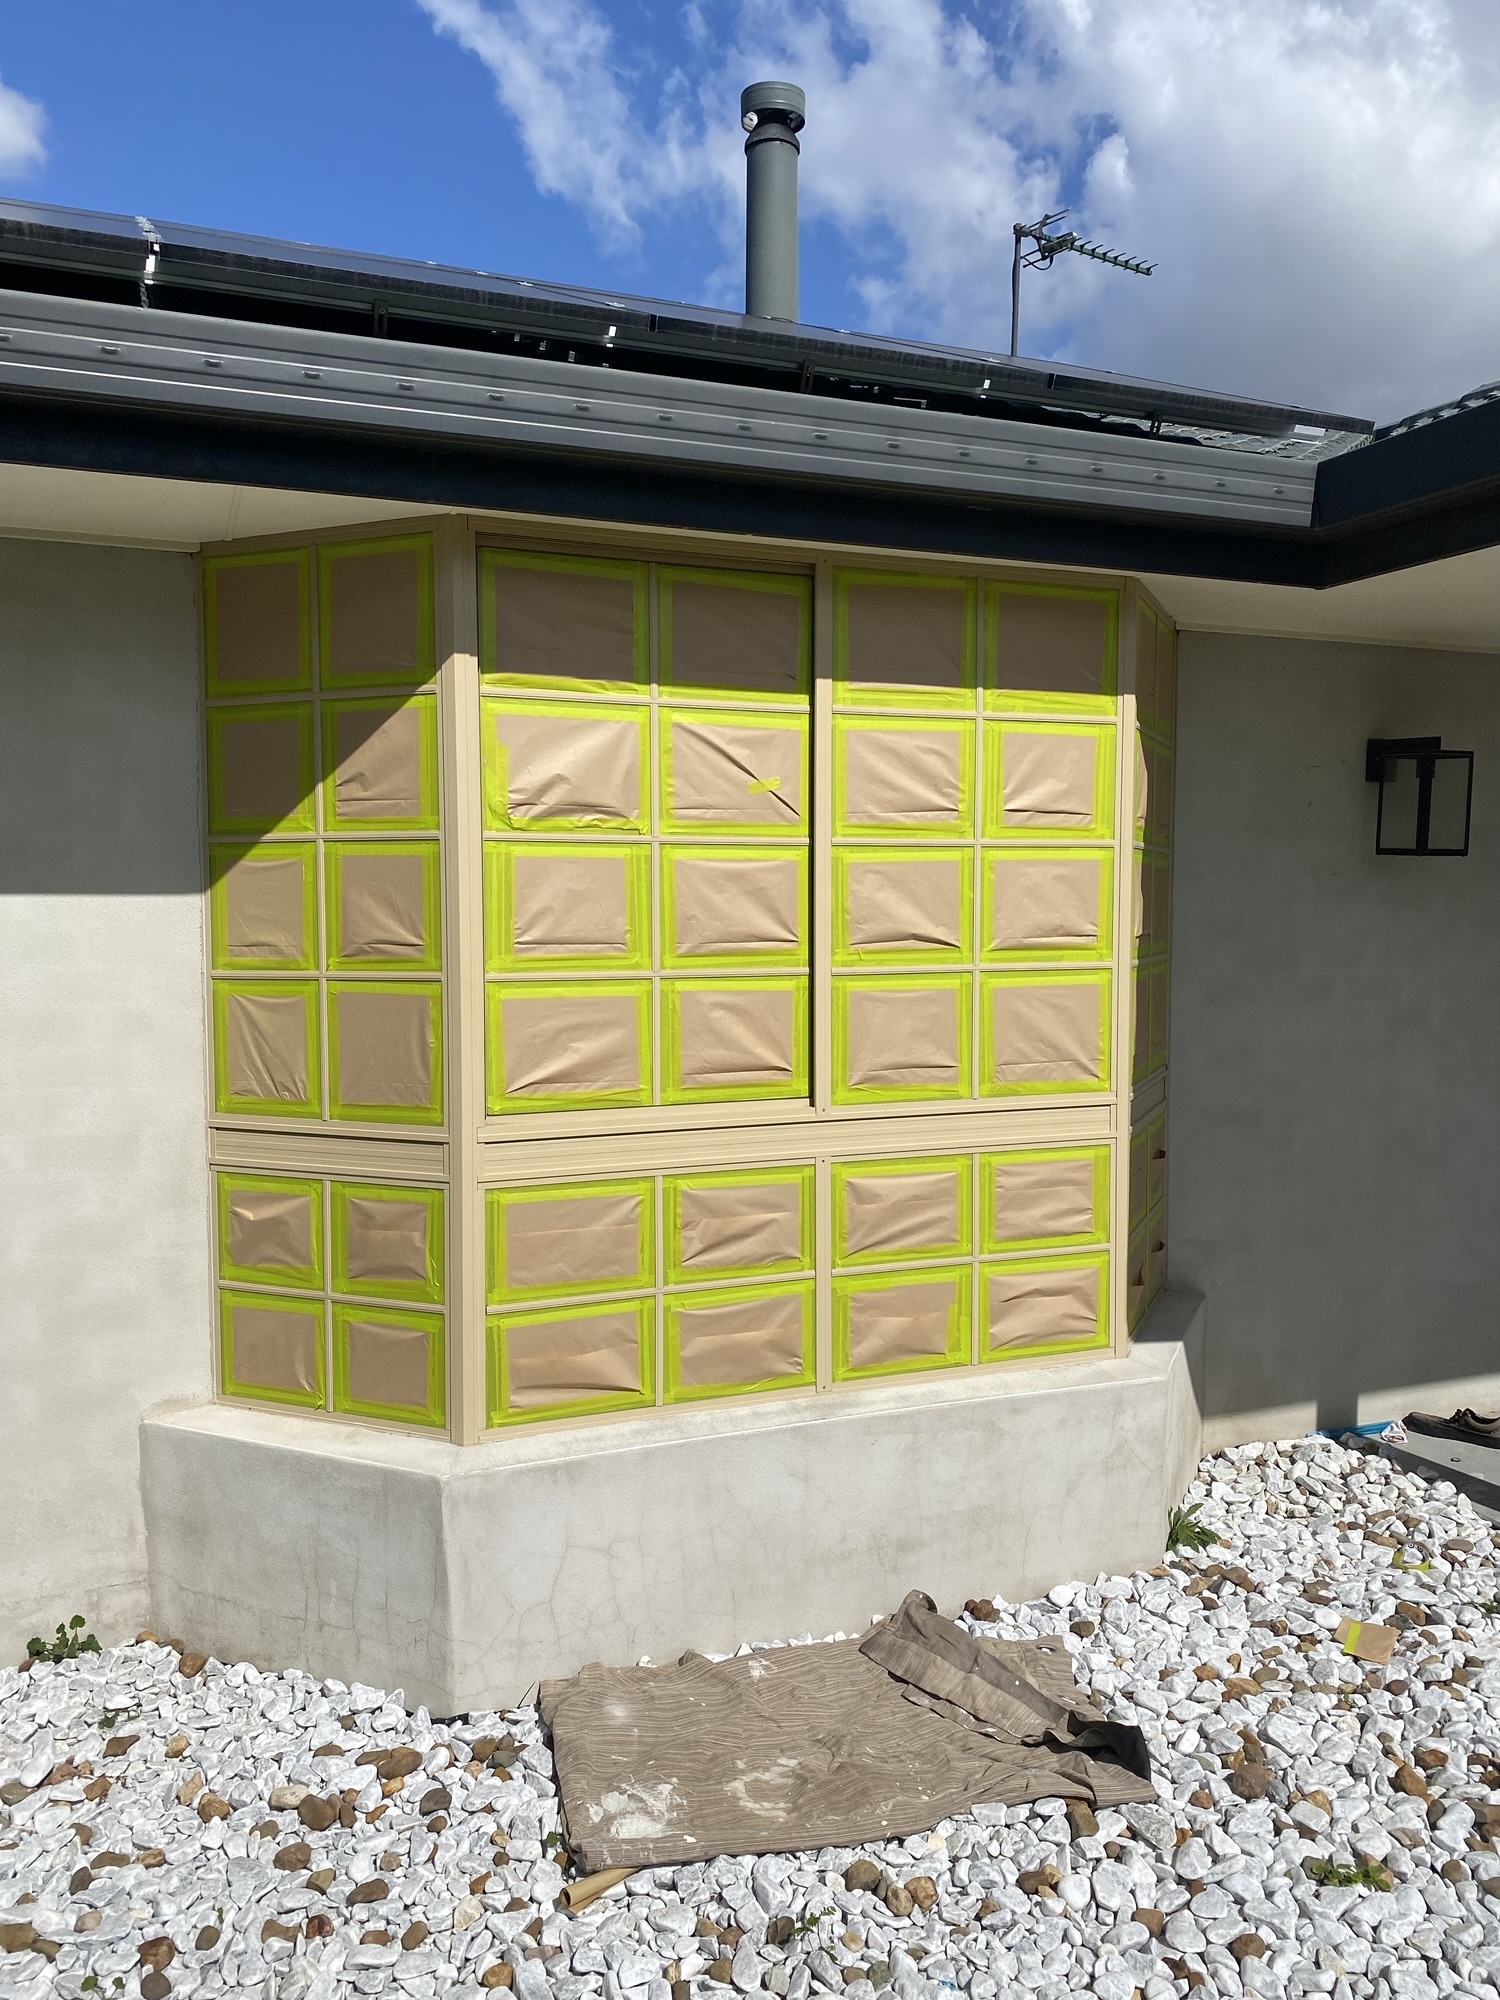
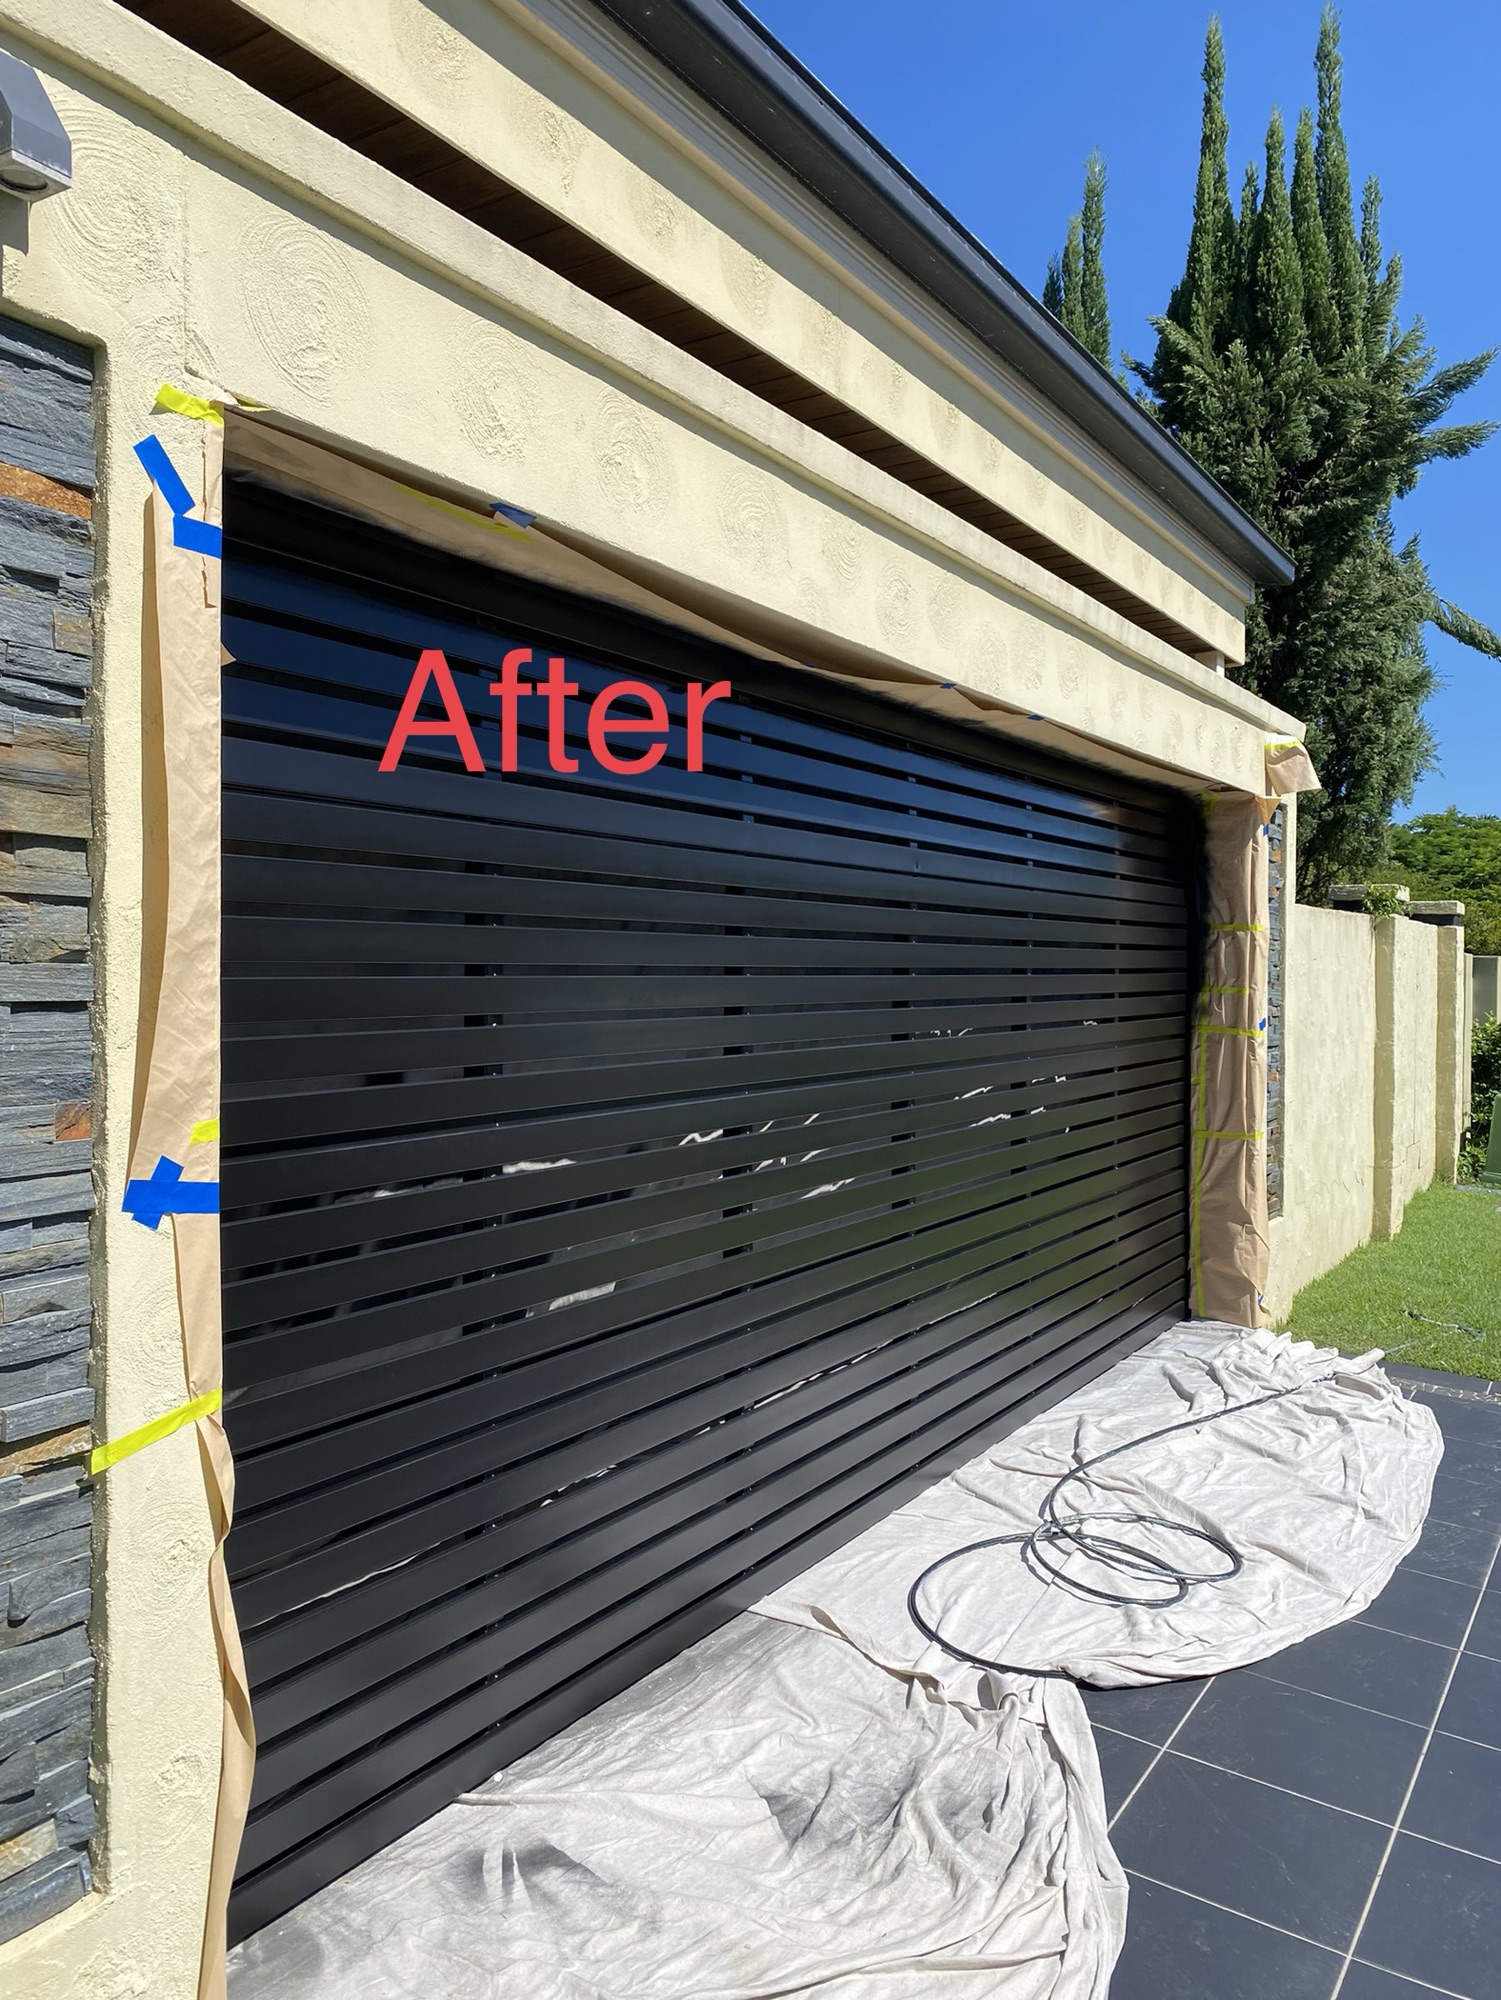
5) Precision Masking (This is where finishes are won)
Glass: High-tack straight-edge tape at the sight line; then masking film over panes.
Reveals & surrounds: Tape/render interface, tile edges, decks, brick, carpets.
Gaskets & sliders: Mask weather seals so they don’t stick to fresh coatings.
Tracks: Mask out to prevent grit binding into fresh film.
Colonial/French bars: We mask around the bars, not over them—clean perimeter tape line around each bar for razor-edge geometry (no bridging film that tears on de-mask).
Hardware: Remove handles if practical; otherwise mask meticulously.
—
6) Priming (Residential vs Commercial)
Residential (single-pack system)
Primer: Norglass All Surface Primer on properly keyed aluminium.
Dry Film Thickness (DFT): 30–40 microns per coat; typically 2 coats = 60–80 microns total.
Flash times: Light coats; respect touch-dry and recoat windows (varies with temp/humidity).
Aim: Uniform, matte, fully covered substrate with no slick or glossy patches.
> WFT note (for comb gauges): WFT ≈ DFT / (solids by volume). If a coating is ~45% solids, 35 μm DFT ≈ 78 μm WFT. Always verify product data.
Commercial/Industrial (2-pack system)
Primer: 2-pack epoxy/etch system only (shopfronts, warehouses, industrial).
Application: Trained operators with correct PPE & controls.
Never use 2-pack systems on residential interiors.
—
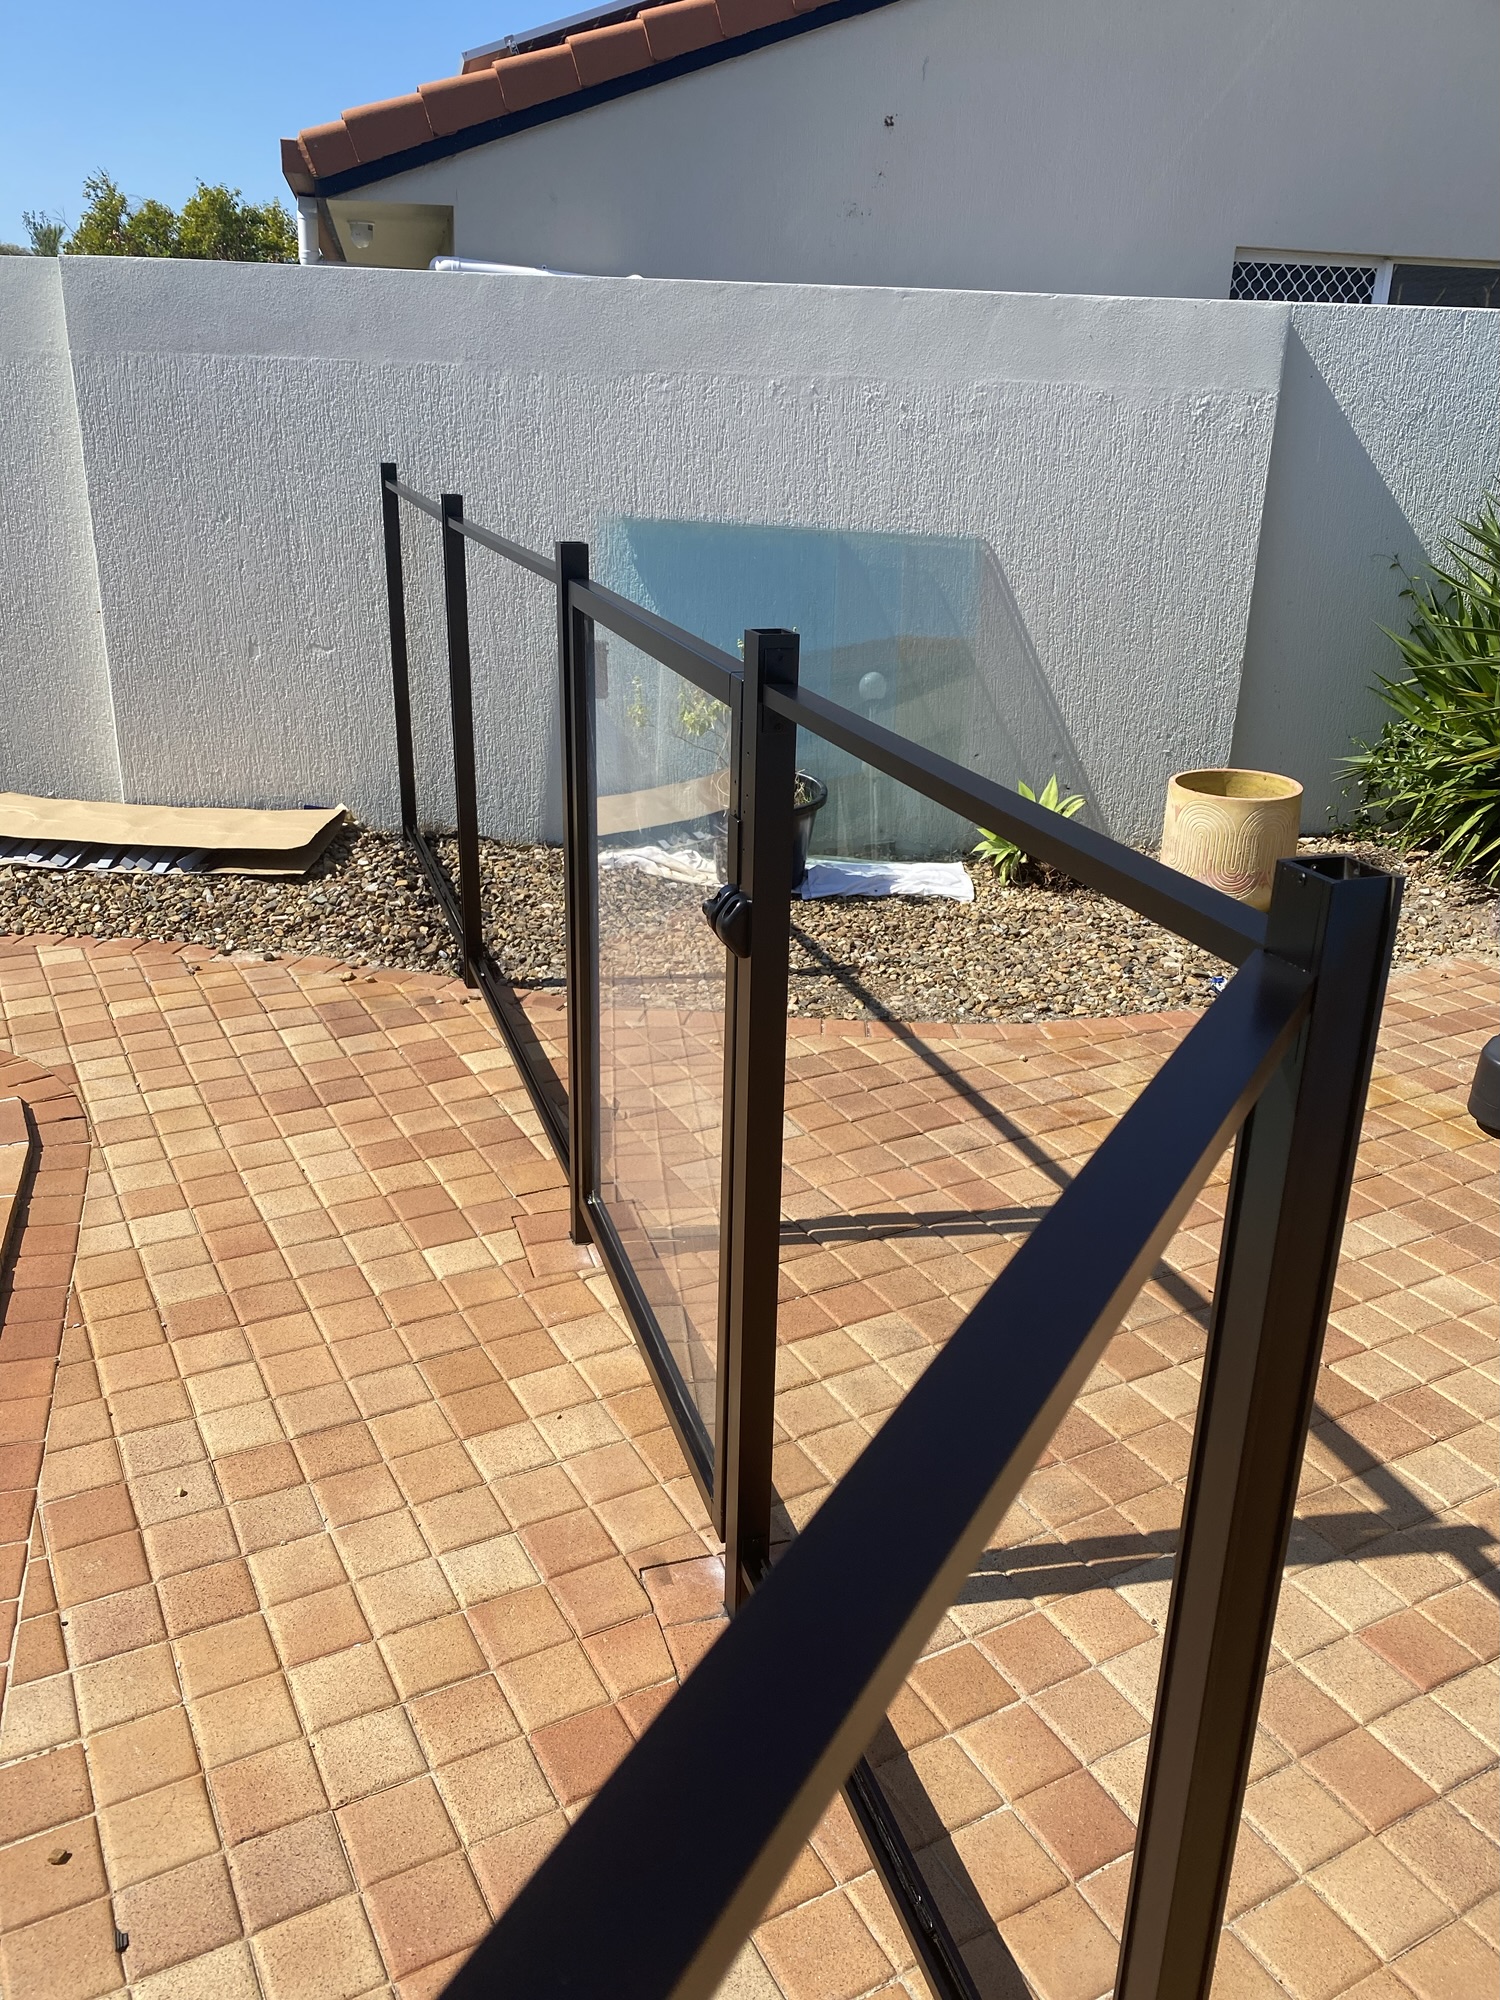
7) Topcoating (Build, Passes, Sheens)
Residential topcoat (professional acrylic lacquer)
Product class: Acrylic lacquer (professional grade).
DFT per coat: 25–35 microns; total system often 40–60 microns after multiple coats.
Coats: Usually 2–3 light, even passes, plus a controlled “wet” pass for flow.
Nozzle & fan: HVLP gravity gun; typical 1.3–1.5 mm for acrylic topcoat. Wide, even fan with 70–80% overlap.
Sheen:
Gloss = maximum pop (shows prep mistakes).
Satin = modern, forgiving, excellent for most homes.
Matt = very contemporary but can mark more easily.
Commercial topcoat (2-pack polyurethane)
Use only on commercial/industrial jobs.
Film builds and re-coat windows per TDS; strict PPE; controlled environment.
Colour tip: Dark colours absorb heat; manage film builds to avoid print/softness on hot days.
—
8) Environmental Conditions (Gold Coast Reality)
Temperature: Ideal 15–30 °C.
Humidity: 40–70% RH. Avoid steamy afternoons and dew-risk evenings.
Wind: Low. Overspray control is king.
Sun: Never spray hot metal in full sun—solvents flash too fast → dry spray, orange peel.
Rain/Dew: Maintain a safety buffer (finish several hours before dew point).
—
9) Doors, Screens & Moving Parts
Sliding panels: Remove where practical; service rollers, clean tracks, check stoppers.
Screens: Remove diamond grills, flyscreens, barrier doors; clean, sand, respray to match frame colour; re-mesh if required.
Tracks & thresholds: Mask thoroughly; no build-up on running surfaces.
Reinstall: After full touch-dry; handle with clean gloves to avoid prints.
—
10) Tape Removal (for Factory-Sharp Lines)
Timing: Pull tape as soon as the last coat has flashed (tack-free but not fully hard).
Angle: 45–60° back on itself; slow, even pull.
Score if needed: If film bridged, lightly score the paint edge with a fresh blade to avoid jagged tears.
Film first, edge last: Peel masking film away, then finish with edge tape.
—
11) Quality Checks
Coverage: No shadowing, maplines, thin edges, or patchy sheen.
Edges: Sight lines straight and crisp, especially around colonial bars.
DFT spot-checks: Comb gauge during wet stage; verify target builds (see sections 6–7).
Adhesion (post-cure): Cross-hatch/check on a hidden spot if required.
Function: Doors roll true; locks engage; gaskets not stuck; no film on tracks.
—
12) Troubleshooting (Causes → Fix)
Fish-eyes/craters: Silicone/grease contamination. → Stop, de-nib, re-clean with wax & grease remover, extend flash, re-spray light coat.
Sags/runs: Too wet/heavy or cold substrate. → Allow to gel, shave nib with blade after set, nib-sand P800–P1000, light respray.
Dry spray/roughness: Hot metal, too much distance, low fluid. → Reduce distance, increase overlap, allow cool-down, light flow coat.
Orange peel: Viscosity/atomisation mismatch. → Adjust fluid/air, test panel, smaller wet passes.
Poor adhesion: Inadequate sanding or primer skip. → Back to substrate; re-sand; re-prime.
Tape lift on gaskets: Tape pulled late or wrong tape. → Pull earlier; use flexible tape on seals.
—
13) Body Corporate & Compliance Notes
Externals of units/high-rises: Exterior colour changes usually body-corp decisions. Interiors can often be done; always confirm.
Commercial estates: Liaise with centre management for colours, after-hours access, safety.
Spray safety: Signage, exclusion zones, PPE, and overspray control are mandatory in public-facing areas.
—
14) Maintenance After Cure
Cure before wash: Give coatings time to harden before aggressive cleaning.
Cleaning: Mild detergent + water; no abrasives or strong solvents.
Seasonal wash-downs: Especially coastal homes—salt removal extends life.
Hardware: Light silicone-free lubricant on locks/rollers (never on fresh paint).
—
15) Quick Checklists (Print-Ready)
Residential Aluminium Repaint — Rapid Sequence
1. Inspect substrate & surrounds
2. Protect site; plan weather window
3. De-silicone, degrease, general clean
4. Sand/key: P320–P400 + Scotch-Brite
5. Mask glass, reveals, tracks, gaskets; mask around colonial bars
6. Prime: Norglass All Surface Primer (2 coats, 30–40 μm DFT per coat)
7. Topcoat: Acrylic lacquer (2–3 coats, 25–35 μm DFT per coat)
8. Controlled flash times between coats
9. Pull tape on tack-free; score if bridged
10. Reinstall panels/screens; service rollers
11. Final QA; tidy; handover & care guide
Commercial/Industrial — Key Differences
2-pack epoxy primer + 2-pack polyurethane finish (trained operators only)
Access gear planning (boom/scaffold)
After-hours scheduling for tenants/traffic
Overspray, safety, and compliance controls
—
Why DIY Usually Falls Short (Reality Check)
Contamination control is unforgiving—tiny silicone traces cause fish-eyes.
Sanding coverage must be uniform; shiny islands = future adhesion failure.
Masking discipline (especially around colonial bars) is the difference between “home job” and “factory.”
Film builds matter: too thin = fragile; too thick = sags/print.
Environmental timing on the Coast (sun, humidity, dew) can ruin a perfect coat in minutes.
If you want the finish to look like it came that way from the factory—and stay that way—this exact process is why we do what we do.
—
Need it done properly?
We repaint aluminium windows and doors across the Gold Coast—homes, shopfronts, and industrial units.
Residential: Pro-grade single-pack system (primer + acrylic topcoat)
Commercial: 2-pack primer + 2-pack polyurethane only
Call Steve — 0403 311 125 and we’ll line up a clean, factory-sharp result.
